To increase or decrease the resources allocated to a virtual machine (e.g., vCPU or RAM), the VM must first be powered down.
Step 1: Shut Down the Virtual Machine
-
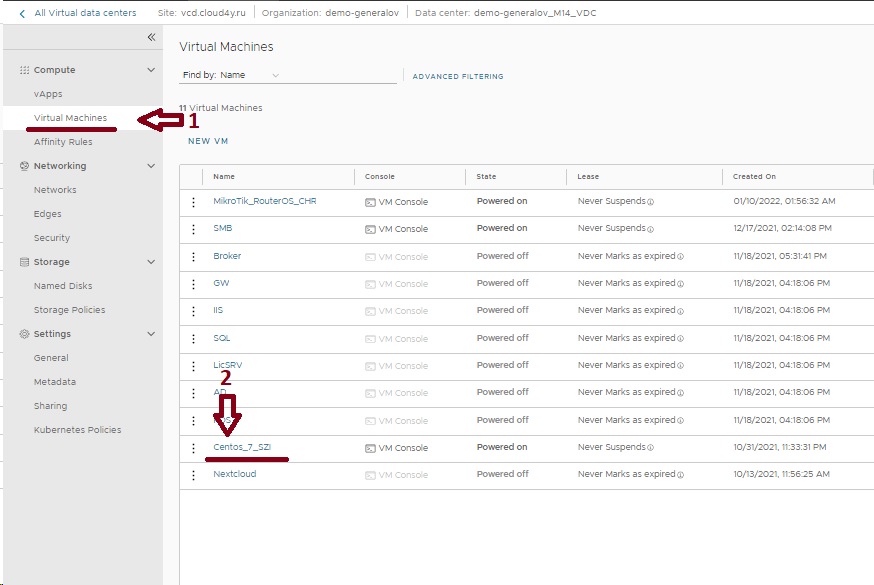
Navigate to the "Virtual Machines" section in the main menu.
-
Click on the name of the virtual machine you wish to modify.
-
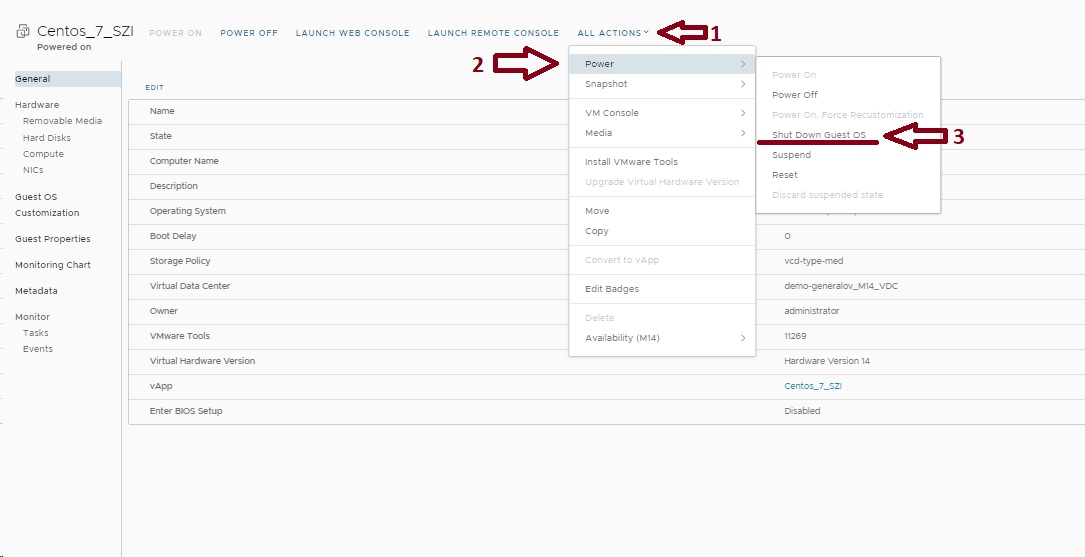
On the VM details page, locate and hover over the "ALL ACTIONS" button.
-
In the menu that appears, navigate to the "Power" section.
-
Click "Shutdown Guest OS" to gracefully shut down the operating system and stop all services inside the VM, preventing data loss
-
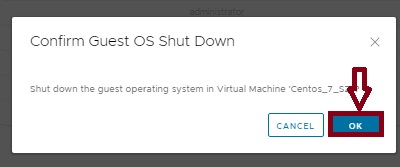
Confirm the shutdown action in the dialog box that appears by clicking "OK".
Step 2: Adjust Compute Resources
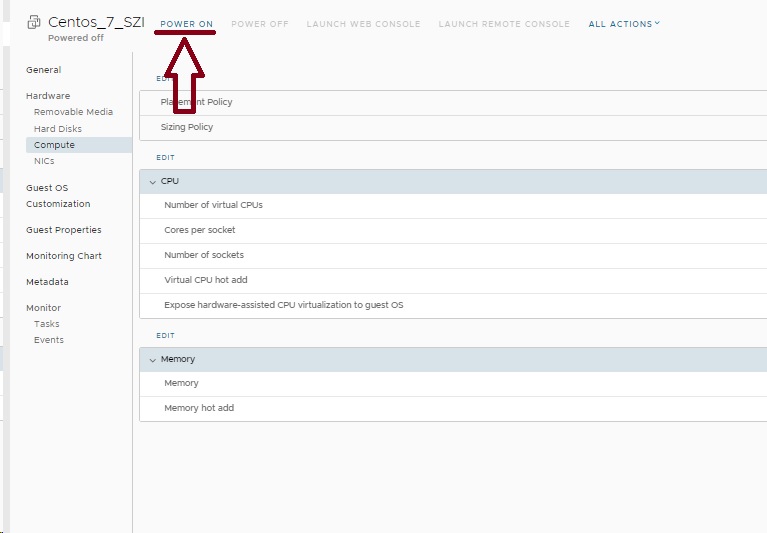
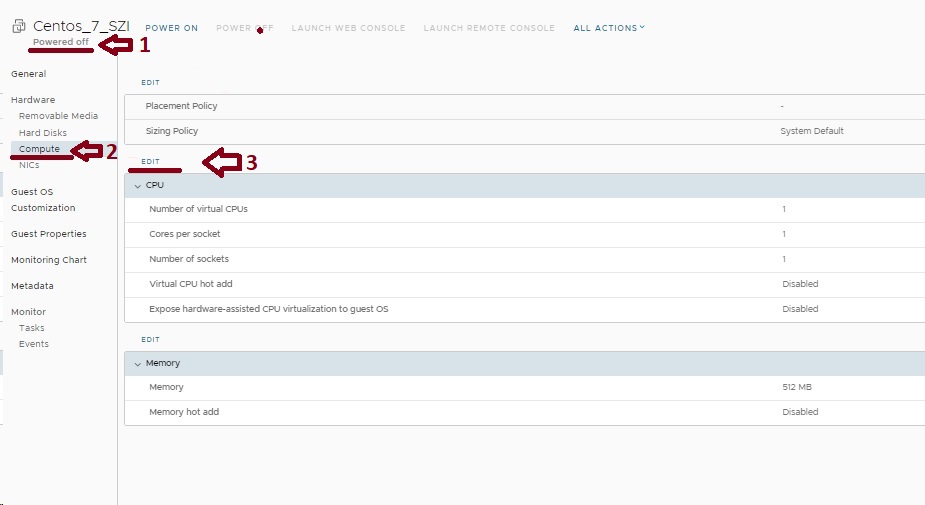
Wait for the VM to be completely powered off. The status should display as "Powered off".
-
Click on the "Compute" tab within the VM's details page.
-
To change the vCPU, locate the CPU section and click the "EDIT" button
-
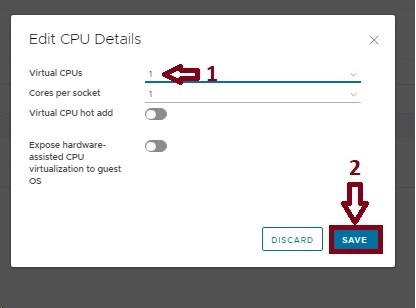
In the dialog window, specify the desired number of virtual processors.
-
Click "SAVE" to apply the new vCPU configuration
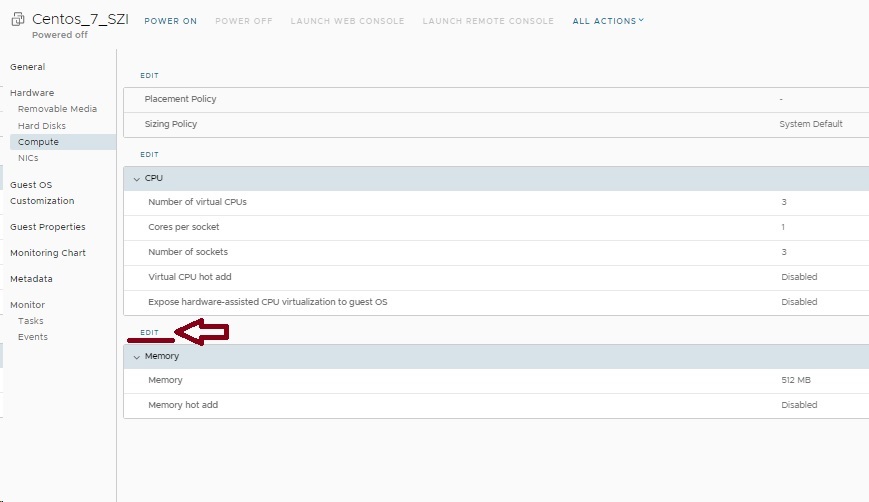
5. To change the RAM, locate the Memory section within the same "Compute" tab and click its "EDIT" button
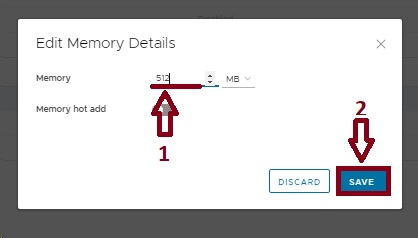
6. Specify the required amount of RAM
7. Click "SAVE" to apply the new memory configuration
Step 3: Power On the Virtual Machine
After you have finished adjusting the resources, power the virtual machine back on by clicking the "POWER ON" button.