You can use The Bat! as your email client if you wish.
Please note: The Bat! is not a full alternative to Microsoft Outlook. You can use it to read incoming emails and send messages, but you will not be able to use additional features such as shared calendars and an address book. Also, some features will only work if you activate the installed Outlook, so you will still need to purchase it. Support for connecting via EWS was dropped by the developers in version 8 of The Bat! As this is a third-party email client, the manufacturer does not guarantee its functionality and does not provide technical support.
To connect to a Microsoft Exchange account, start The Bat! If this is the first time and you have not set up an account, the setup wizard will open automatically. If not, you can run the wizard at any time by selecting "Mailbox - Create new mailbox" from the main menu.
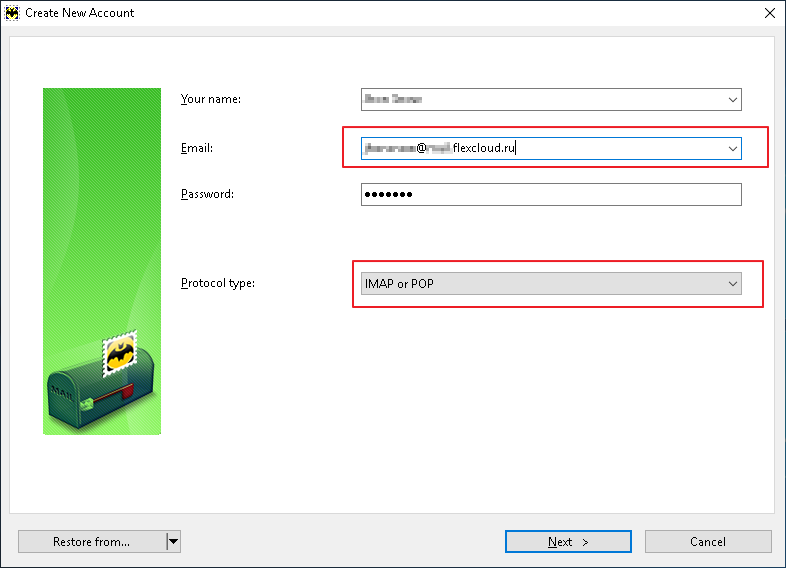
Enter your name (note that this is the name that will be displayed in emails to other people!), email address and password. In the Protocol drop down list, select IMAP or POP3 instead of the default (Auto). Click Next.
The next screen specifies the settings for the incoming mail server. The software configuration may not detect the server settings correctly. You should check the settings and change them manually if necessary:
| To receive email | IMAP - Internet Mail Access Protocol v4 |
| Server address | mail.flexcloud.ru |
| Connection | Secure connection on special port (TLS) |
| Port | 993 |
| User's name | Full user name including domain in login@domain format (usually the same as the Microsoft Exchange email address). |
An example of the correct settings:
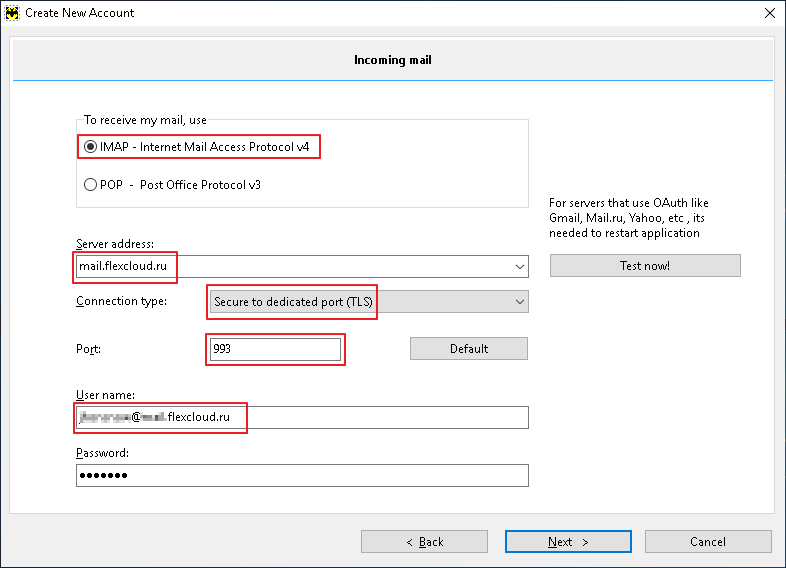
You can click Test to check if the settings are correct, "Authenticated" will appear below the button.
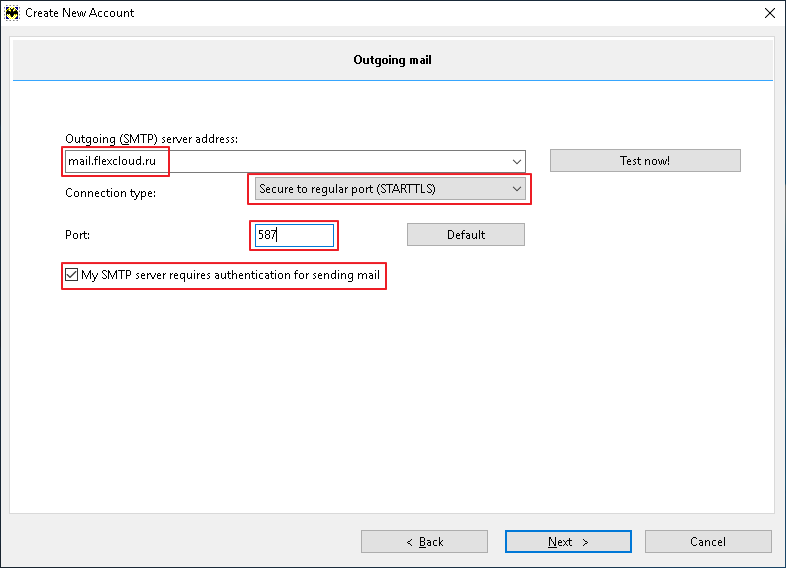
After clicking Next, you will be asked to define the outgoing email settings. These settings should also be checked and corrected if necessary:
| Outgoing mail server address (SMTP) | mail.flexcloud.ru |
| Connection | Secure to standard port (SRARTTLS) |
| Port | 587 |
| My SMTP server requires authentication | Select the check box |
To check that the settings are correct, you can press Check and the message "Authenticated OK" should appear below the button.
After clicking on Next, you will be asked to re-enter your name, the name of your email account in the programme's list of accounts and your home directory. All these settings can be left as they are.
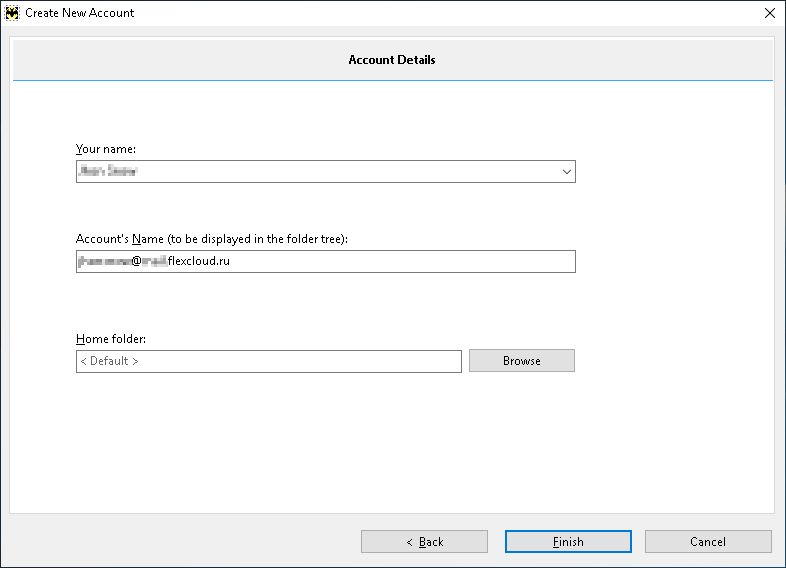
Click Finish to complete the configuration.
